Kali linux live
Install Kali Live on a USB Drive (With Persistence, Optional)

Some of the reasons for using a Live USB are:
· You use all of your system resources (CPU, RAM, GPU, etc)
· You take no space of your Hard Drive for it.
· No tunnelling your Internal Wireless Adapter into eth0
· You can take your OS to any PC you use.
· You use all of your system resources (CPU, RAM, GPU, etc)
· You take no space of your Hard Drive for it.
· No tunnelling your Internal Wireless Adapter into eth0
· You can take your OS to any PC you use.
And you just need a USB flash drive of at least 4 GB with nothing on it to get it, so why not give it a try?
For this tutorial, I'll assume you're starting from a PC with Windows installed, as most newbies do.
Step 1Get the Stuff You Need
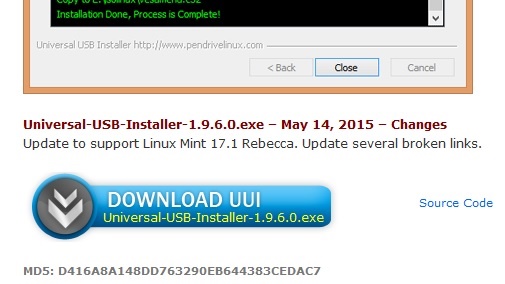
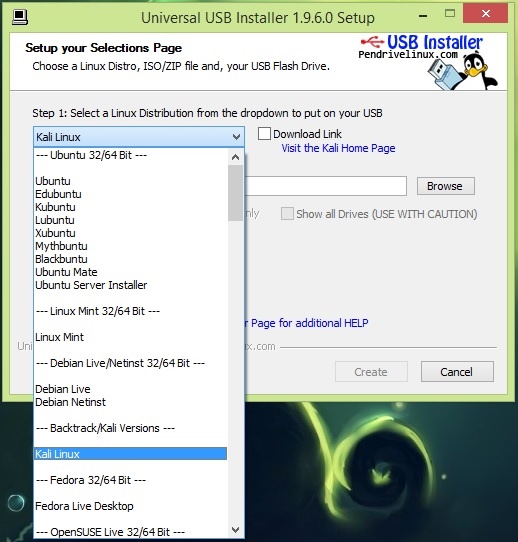
First, you'll need a program to install Kali on your USB drive and make it bootable. My program of choice is Universal USB Installer, as it's painfully easy to use and it has a direct link to many Linux distros download page within the program.
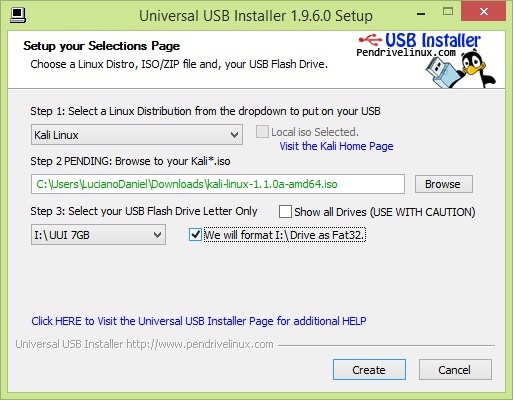
Search for this button, and get the program. Once you run it, you'll see a disclaimer page. Accept it (or read it first, if you feel like it), and you'll be presented with the configuration section (after a few seconds). Choose Kali from the dropdown menu:
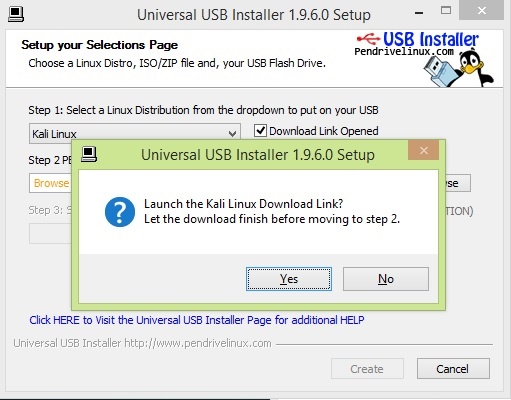
If you haven't downloaded a Kali image yet, just check the "Download Link" box and you'll be taken right into the download page.
If your system is 64 bit, you may want the 64 bit ISO, but it doesn't ensure you portability to all the PC's you find. If you're not sure whether your PC is 32 or 64 bit, choose the 32 bit ISO. It'll work for both architectures.
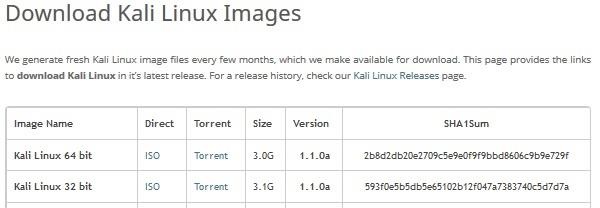
You can choose Direct download, but if you have a pretty slow and unreliable connection, download it via Torrent. If you never downloaded something via Torrent, you could look it up. It's pretty damn simple.
Once you have downloaded your Kali image, select it:

Step 2Installing Kali
And then choose the drive letter for your USB drive (you probably won't need to use that checkbox on the right side). Be careful when doing this.

I'd recommend to check the box that formats your USB drive. That'll wipe your whole USB drive, make sure you back up everything you had there before proceeding. It'll make a quick format, so there's no reason to avoid this.
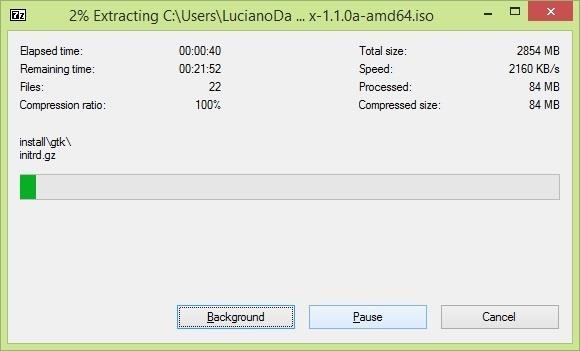
Click on Create, then Yes, and it'll do the whole process by itself. The longest part will be extracting the ISO to your USB, but it'll be over in a matter of minutes.
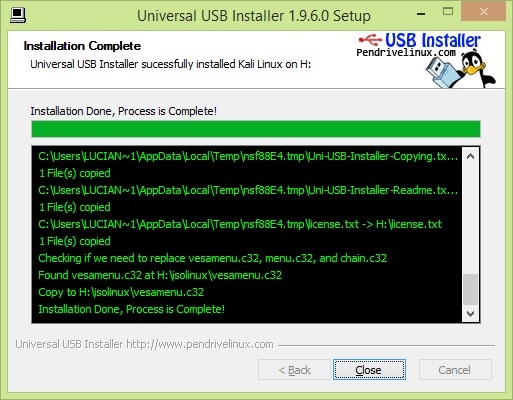
If everything went as expected, you'll see this, and you have a USB you can Live boot you Kali from. You may have to do a little tweaking on your BIOS for it to work, but I don't know how to cover every BIOS on a single tutorial.
Quick Linux Guide
If you're already a Linux user, follow these steps to make a Kali Live USB. It's way simpler and faster than Windows!
· Make sure you have a 4 GB+ USB drive connected and you're ready to get it cleaned.
· Download the Kali ISO of your choice (32/64 bit).
· Check your USB drive location with
sudo fdisk -l
sudo fdisk -l
· Let's say it's /dev/sdb and you haven't ever partitioned it. Just format it to be Fat32 with sudo mkfs.vfat -n 'Kali' -I /dev/sdb1
· Locate your Kali image and use it as input in this command:
sudo dd if=/home/you/downloads/kali.version.iso of=/dev/sdb1 bs=512
sudo dd if=/home/you/downloads/kali.version.iso of=/dev/sdb1 bs=512
Wait for it to finish, and that's it, you have Kali on your USB drive now.
Setting Up Persistence (Preparing the Partition)
You liked to Live boot from USB, but you want to save changes made into your OS, or just files (such as .pcap files) into your USB drive? You'll need to set up Persistence. Your USB drive must have 8 GB+ of storage space.
Download MiniTool Partition Wizard Free, install it, run it and then choose Launch Application.
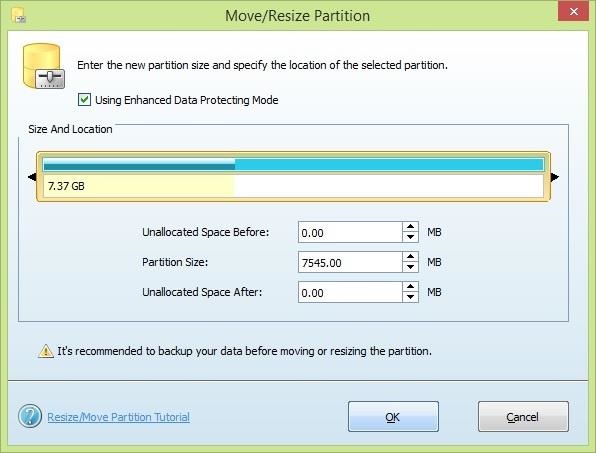
Right click on your USB drive, and click on Move/Resize
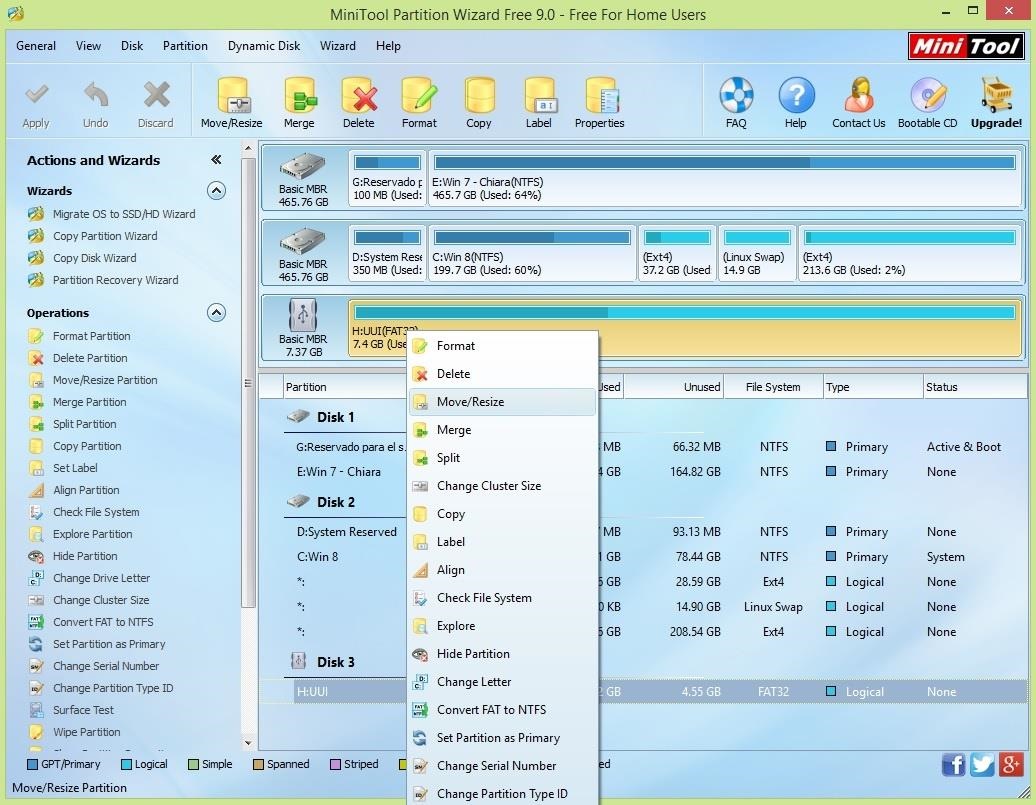
Use the small black arrow keys to shrink the partition size. It will leave a bit of storage space free, but if you manually assign the Partition Size, the program may fail. Click OK.


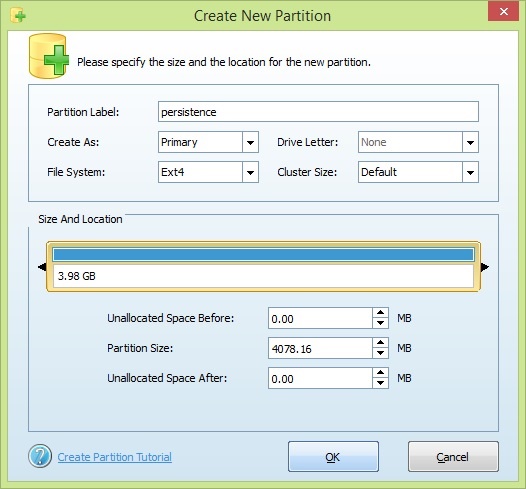
A new big grey chunk of unallocated space as appeared! Right click on it and click on Create. It'll warn us that Windows won't be able to see that partition, but we don't care about that ;)
Pick this options:
· Create as: Primary
· File System: Ext4
· Partition Label: persistence
· Create as: Primary
· File System: Ext4
· Partition Label: persistence
Then click OK.
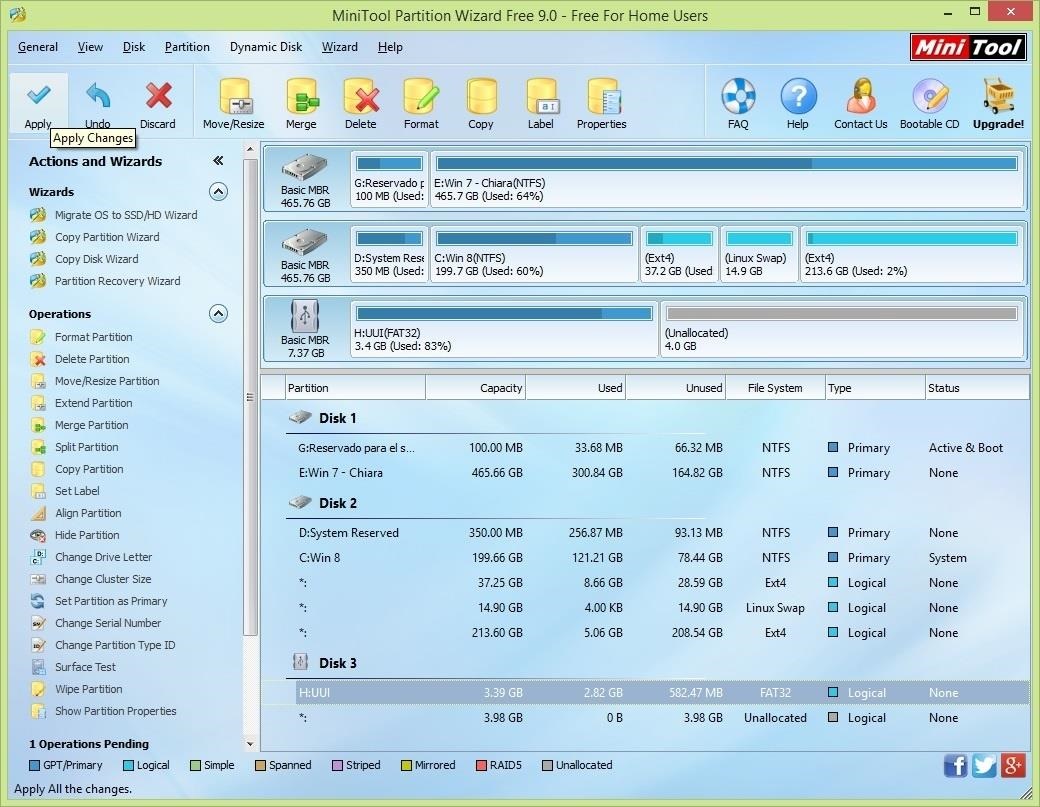
Now click on Apply (upper left corner), and just wait for it to complete the tasks.
Setting Up Persistence (Configuring the Partition)
Once the partition manager finished, reboot your computer and boot up from your USB drive. Choose the option "Live USB Persistence", and when it's booted up, open a Terminal and use these commands:
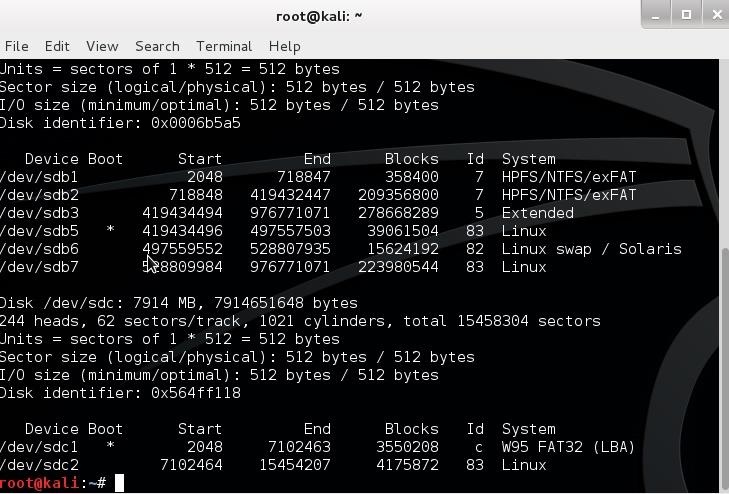
Determine which partition of your drive you'll use
fdisk -l
fdisk -l
Remember your drive had a FAT32 partition and a Ext4 (Linux) one?
Make a directory on the filesystem to mount your USB
mkdir -p /mnt/my_usb
mkdir -p /mnt/my_usb
Mount the partition on the directory you made (don't click the desktop icon labeled persistence!)
mount /dev/sdc2 /mnt/my_usb
mount /dev/sdc2 /mnt/my_usb
Add a configuration file to enable persistence
echo "/ union" > /mnt/my_usb/persistence.conf
echo "/ union" > /mnt/my_usb/persistence.conf
Unmount the partition and reboot
umount /dev/sdc2 && reboot
umount /dev/sdc2 && reboot
Now, if you boot up to Live USB Persistence, you'll be able to save stuff everywhere on your Linux filesystem, and every configuration you make locally will be available everywhere you plug it in :)


He is no scam,i tested him and he delivered a good job,he helped me settle bank loans,he also helped my son upgrade his scores at high school final year which made him graduate successfully and he gave my son free scholarship into the college,all i had to do was to settle the bills for the tools on the job,i used $500 to get a job of over $50000 done all thanks to Walt,he saved me from all my troubles,sharing this is how i can show gratitude in return for all he has done for me and my family
ReplyDeleteGmail; Brillianthackers800@gmail.com
Whatsapp number; +1(224)2140835